We look at how to use reverb and delay in your DAW, two key effects that can transform static mixes into almost living, breathing entities.
In this Article:
Before fancy terms like “spatial” were used in music production, we simply referred to reverb and delay as “delay effects”. This means that the dry signal is heard first, while the affected or processed signal is delayed, unless we use reverse versions of these effects, like risers, which is a technique used by producers in Pop and EDM tracks.
When they are used with intention, these effects can help you create separation in your mixes, with dimension and depth. Some of the key aspects include effects routing (in-line inserts/parallel sends), shaping with EQ and filters, and timing parameters, including pre-delay and rhythmic delay divisions.
Reverb And Delay: Sends vs Inserts
One of the most common rookie errors in music production is using a reverb plugin as an insert on every channel in your DAW. Rather than cohesion, the result is often an unfocused, mushy mix that lacks clarity and definition. Although per-channel in-line processing (inserts) is essential when using compression and EQ, using parallel aux send gives us more control.
Try building a DAW mixing template with:
- A short ambience or room reverb for cohesive glue
- A longer hall or plate for spatial dimension
- A delay with tempo-sync for movement
When we send multiple channels to the same reverb bus in different amounts, we group these instruments in a shared acoustic space, making them far easier to manage in the mix. With a single effects return fader, we can wholistically control each space.
Meanwhile, the channel sends can adjust the distance of the sound source:
- By decreasing a send, we move the sound closer to the listener
- Whereas, increasing a send moves it further away
This way, we aren’t simply adding effects at random; we’re strategically placing elements toward the front or back of the mix.
Reverb And Delay: Creating Depth
Mix depth isn’t only down to the amount of reverb being used, it’s about shaping the effect to suit the surrounding elements.
- Pre-Delay: Separating Wet from Dry
Most reverb plugins have a pre-delay parameter, which creates a time gap between the initial dry signal and when the reverb is triggered. It’s easily one of the most crucial and misunderstood reverb controls.
- A short pre-delay (0–10 ms), allows us to move sounds further back in the mix
- With a longer pre-delay (20–80 ms), the source remains upfront while introducing ambience simultaneously
For vocal reverbs, using a longer pre-delay time creates spatial depth while maintaining intelligibility. Meanwhile, a shorter pre-delay can mimic the natural feel of drums in a room.
- Decay Time: Matching it to the Track
Ever notice how amazing a solo instrument sounds through a massive reverb, but then the bubble bursts as soon as the other elements in the mix are playing? While reverb adds space, it has to fit the context of the track.
With a short decay time (0.5–1.2 s) we can get a controlled, modern sound which is tight.
A moderate decay time (1.5–2.5 s) allows flexibility, with a sound that is natural and still transparent
Longer decay times (>3 s) can be used to create atmospheric sound scapes, but there is some risk involved
We need to match the decay time to the song’s tempo and mix density. While slower songs can be more forgiving, faster tempos usually require shorter decay times to avoid overlapping sounds that don’t fit rhythmically. To find your song’s tempo divisions in milliseconds, simply type the tempo of your project (eg. 112 BPM) followed by “grid in ms” into google search.
Reverb And Delay: Filter Cleanup
Adding spatial effects can sometimes introduce muddy lows or hissing high frequencies that mask other elements in the mix. To prevent this, we can insert EQ plugins before and after the reverb or delay effect in the chain, giving us precise control of the frequency range.
- High-Pass Filtering
We can use a HPF to prevent low-end buildup.
- Insert a HPF pre-effect on the return bus, set between 150 and 300 Hz or higher, depending on the sound.
- This way, the low-end remains focused, and we preserve the impact of the key dry instruments like the kick and bass.
- Low-Pass Filtering
The bright decaying tail of a reverb can mask instruments like vocals and cymbals, affecting their clarity and detail.
- Insert a LPF pre-effect on the return bus, set between 6 and 10 kHz.
- This allows us to push the reverb behind the dry source sound, improving the clarity and focus.
- Midrange Control
If the mix becomes clouded, add a subtle, broad cut between 300 and 600 Hz, as this can reduce boxiness.
Using filtering isn’t only corrective, it’s a key part of creating spatial effects, and this is why many delay and reverb plugins have built-in filters. You can brighten a reverb to make it feel closer, while darker reverbs seem more distant.
Also, inserting a sidechain compressor at the end of your effects return chain and using the dry signal to trigger it is a useful trick for controlling reverbs and delays. Remember to match the comressor’s release time to the tempo of your song.
Reverb And Delay: Using Delay for Space and Clarity
When you want to add spatial character while maintaining definition, delay can often be a better choice than reverb.
- BPM Delays
Here, the delay becomes a rhythmic tool with 1/4, 1/8, or dotted 1/8 note values that allow the effect to move in time with the song.
- With short delay times (slapback), we can thicken sounds, as the effect becomes part of the original signal rather than an exaggerated sound with a long trail of repeating echos.
- Longer delay times allow us to create rhythms that interact with the groove of the instrument
A dotted 1/8 delay is a classic on vocals, as it fills in the space between phrases without becoming a distraction.
- Feedback
With the feedback control, we can set the amount of delay repeats
- A low feedback setting of 10 to 25% adds subtle reinforcement.
- Meanwhile, a high feedback setting of >40% is useful for transitional effects.
Unless you’re making dub music where delay feedback is a prominent feature, control and restraint is the best approach.
- Delay Filtering
As with reverb, we can also use filters to sculpt delays and mold them into the mix. Because the sound changes when it feeds back, we can use filters to control the frequency range both before and after the effect.
- Inserting a HPF pre-effect in the chain prevents a buildup of low frequencies
- Using a LPF post-effect can tame harsh repeating echoes.
On vocals, a filtered delay expands and complements the sound rather than overshadowing it.
Combining Reverb and Delay
Feeding delay into reverb and vice-versa is an effective and very old technique from the console era of music production.
Rather than creating a long vocal reverb send, use a delay send instead:
- Start by sending the vocal to a delay bus
- Then turn up a reverb send on the delay return
The result is a more complex and textured, layered spatial effect:
- While the delay maintains the clarity and separates the sound rhythmically,
- The reverb introduces atmospheric depth
As a result, there is a defined space around the sound without obscuring it.
Reverb And Delay: Practical Example
When processing a lead vocal:
- Use a subtle reverb send with a short plate algorithm with a 30 to 50 ms pre-delay for richness and body
- Then, for width and rhythmic texture, add an 1/8 note or dotted 1/8 note delay
- Use HPF and LPF on both effects
- Add automation on the sends, rising toward the end of the vocal phrases and dropping back down
As a result, the vocal stays upfront in the mix, while retaining the expansive, spatial quality.
Reverb And Delay: Automation
Because of how arrangement dynamics work, with sparse verses and dense choruses, having the same delay and reverb settings doesn’t always work for the entirety a song. However, with automation, we can follow the intention of a performance and event the lyrical content to enhance specific passages and add expression.
- To increase the size of choruses, up the reverb sends by 3 to 6 dB
- Create delay throws by bringing up the feedback at the end of certain phrases
- Pull back effects sends on sections that seem too dense or busy
With a more dynamic approach we can increase the impact of transitions and maintain clarity.
Reverb and Delay: Recommended Tools
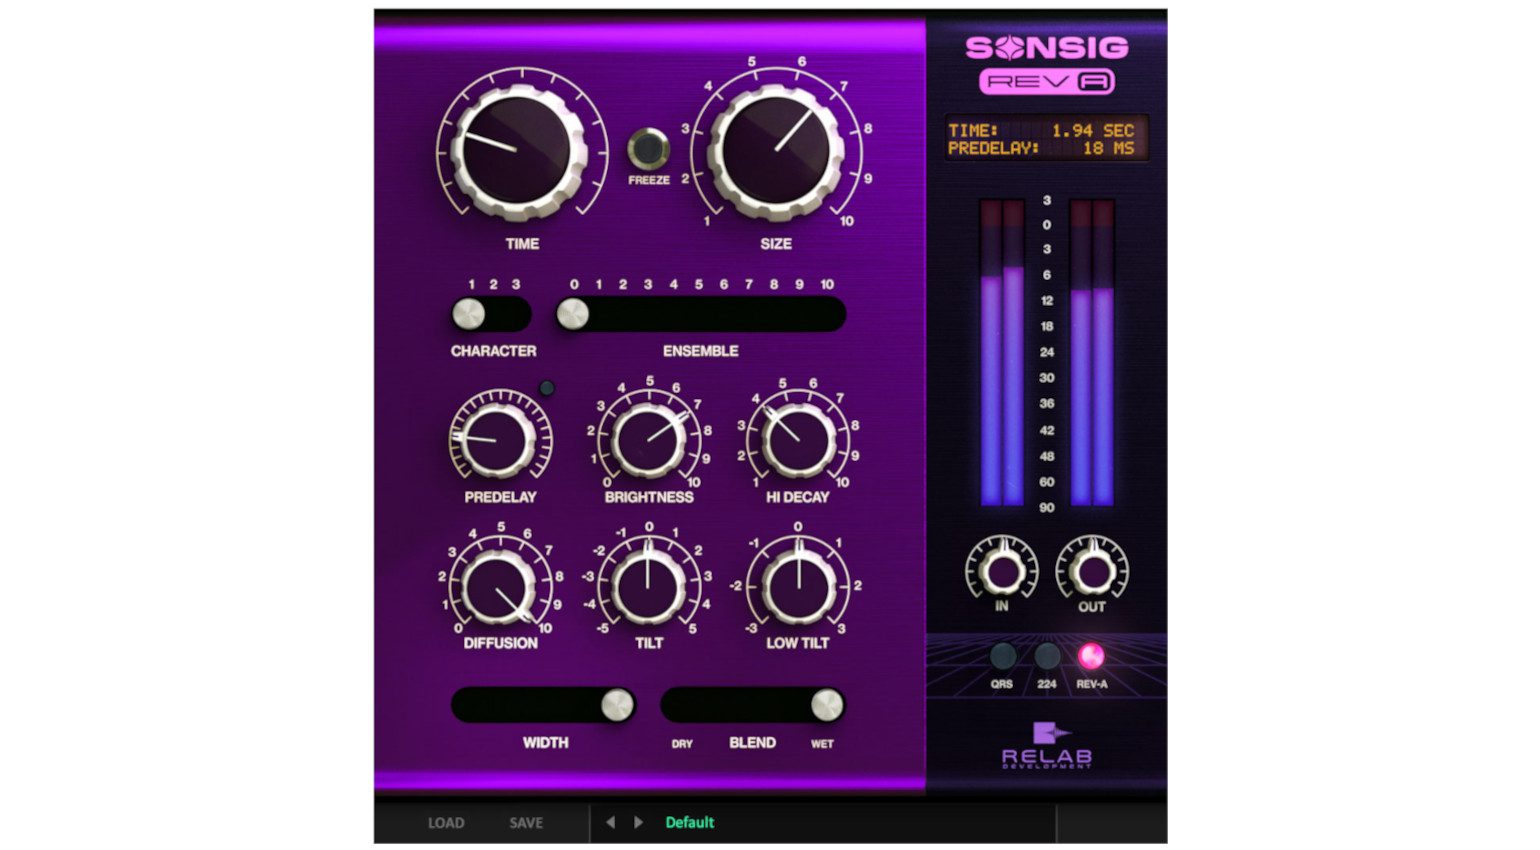
Most DAW systems come standard with some excellent reverb plugins, like Logic Pro’s QRS. However, there’s no harm in adding in a free plugin like the Valhalla Supermassive reverb, with its straightforward interface. Meanwhile, if you want something a little more expansive (and expensive), the Sonsig Rev-A from Relab Development provides a great balance of modern and vintage reverb sounds.

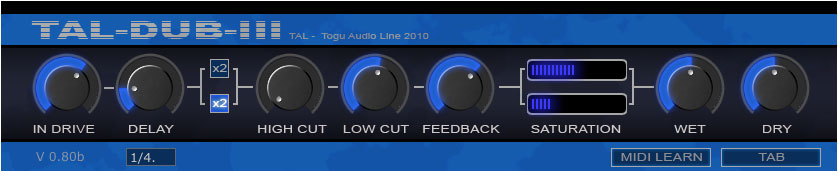
If your DAW doesn’t have a delay plugin (which is unlikely) or you’d like to try something different for variety, the TAL-DUB-III is a free and easy-to-use option with tempo sync, filters, and saturation. Alternatively, if you’re ready to step up to the big league and you’re looking for a creatively inspiring delay plugin with a massive sonic range, Soundtoys EchoBoy is still one of the best choices.
- Download TAL-DUB-III FREE from Plugin Boutique*
- Get Soundtoys EchoBoy at Thomann* (On Sale until 28 April)


Conclusion:
We don’t just use reverbs and delays to make elements sound larger in the mix. Instead, they are tools for placing sounds in 3D space. We can control effects precisely with sends, use filters to maintain clarity, and the timing parameters can add separation.
When we master the execution these three aspects of delay and reverb effects, we can create mixes that have width, depth, and clarity without sounding over-produced or cluttered.
More Info:
*Note: This article contains affiliate links and product widgets that help us fund our site. Don’t worry: the price for you always stays the same! If you buy something through these links, we will receive a small commission. Thank you for your support!
The post Using Reverb And Delay in Music Production appeared first on gearnews.com.